


CyberPanel is a user-friendly control panel designed to simplify website management. One of its essential features is the ability to create and manage databases, which are crucial for websites that rely on dynamic content. Whether you’re running a blog, an e-commerce site, or a forum, databases play a vital role in storing and retrieving data. In this guide, we will walk you through the steps to create a database using CyberPanel, ensuring that your website’s backend is set up for success.
The first step in creating a database is to log in to CyberPanel. You can access CyberPanel through your web browser by entering the URL “https://server_ip_address:8090” into the address bar. This URL is the gateway to your CyberPanel dashboard. Once you’ve reached the login page, enter your username and password to gain access to the control panel. If you’re the administrator, these credentials should have been provided to you when CyberPanel was initially set up on your server. After successfully logging in, you’ll be taken to the main dashboard, where all of CyberPanel’s features are at your fingertips.
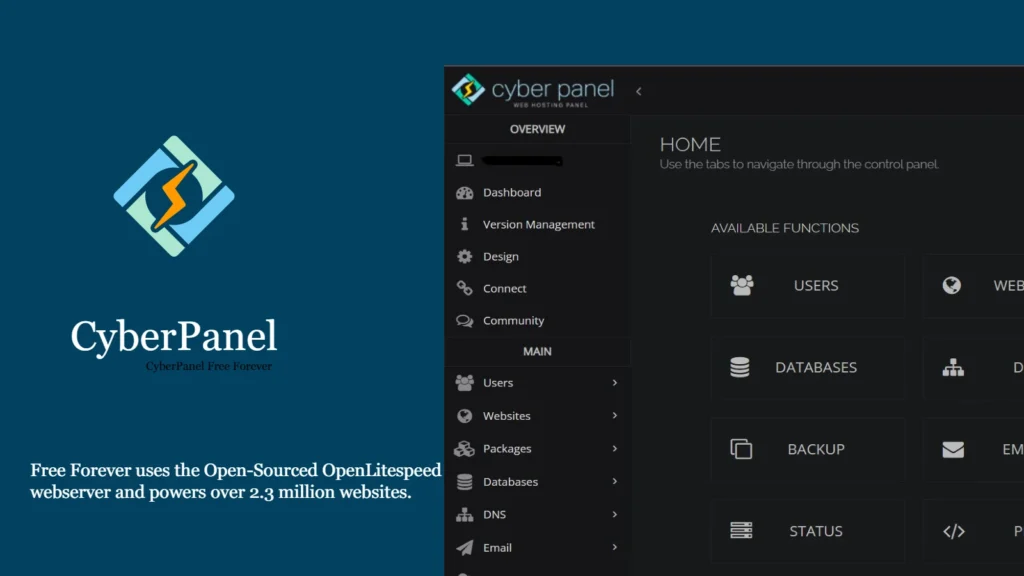
With access to the CyberPanel dashboard, your next step is to navigate to the database management section. This can be done by clicking on the “Databases” tab located in the left-hand menu. The “Databases” section is where you will manage all aspects of your website’s databases, from creation to deletion, and everything in between. This interface is designed to be intuitive, making it easy for users, regardless of their technical expertise, to manage their databases efficiently.
In the database management interface, you’ll find an option labeled “Create Database” or a similar variant. Clicking on this option will open the form where you will input the details of your new database. The process is straightforward, but attention to detail is important to ensure that your database is created correctly and functions as intended. This form will ask for basic information, such as the database name, which you should choose carefully to reflect the purpose of the database.
The form to create a new database requires you to enter specific details. Here is a breakdown of the key fields:
After entering the necessary details, the next step is to set the permissions for the database user. Permissions control what actions the user can perform on the database. Common permissions include:
These permissions are crucial as they define the level of access the user has. For instance, you might want to restrict certain users to read-only access, preventing them from making changes to the data. Carefully consider the permissions you assign, as they directly impact the security and integrity of your database.
Once all the necessary information is entered and the permissions are set, you can finalize the database creation by clicking on the “Save” or “Create” button. CyberPanel will then process your request and set up the new database on your server. If the process is successful, you’ll receive a confirmation message indicating that the database has been created. At this point, the database is ready to be used in conjunction with your website or application.
After creating the database, CyberPanel will provide you with the connection details required to access it. These details typically include:
It is crucial to store these connection details securely, as they are needed to connect your website or application to the database. Keeping these details in a safe location ensures that you can easily access your database when needed without compromising security.
Congratulations! You’ve successfully created a database using CyberPanel. By following these steps, you can efficiently manage databases for your website, enabling dynamic content and smooth operation of your online services.