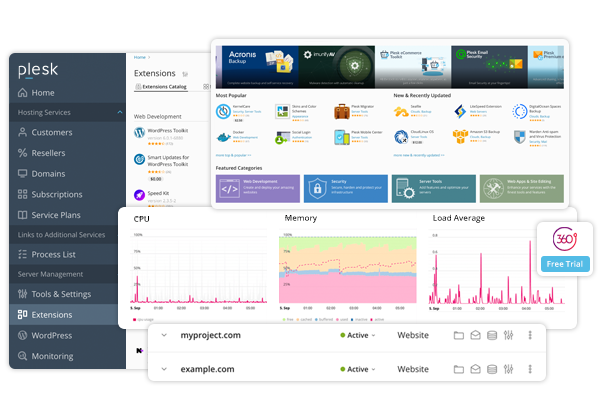
Plesk Panel Installation and Initial Configuration
Plesk is a widely used and user-friendly control panel designed for managing web hosting servers. In this comprehensive guide, we will walk you through the step-by-step process of installing and configuring Plesk Panel for the first time.
Step 1: Server Preparation
Before you begin, ensure that your server meets the necessary system requirements for Plesk Panel. You’ll need a supported Linux distribution such as CentOS, Ubuntu, or Debian installed on your server. Ensure that your server’s operating system is up-to-date to avoid potential issues during installation. Having a stable and secure server environment is crucial for a successful Plesk installation.
Step 2: Acquire License and Download Plesk
To use Plesk, you need to purchase a valid license from the official Plesk website. Once you have obtained the license, download the latest version of the Plesk Panel. Ensure that your server has a stable internet connection during the download to prevent any interruptions. The license you acquire will dictate the features available to you, so choose one that suits your hosting needs.
Step 3: Plesk Installation Process
Log in to your server via SSH or Console to begin the installation process. Follow these detailed steps:
- Transfer the downloaded Plesk file to your server.
- Use the terminal to navigate to the directory where the Plesk file is stored.
- Execute the installation command to start the process. The installation wizard will guide you through various steps. Follow the prompts carefully to ensure a smooth installation.
- Complete the installation by following the wizard’s instructions. This step might take some time depending on your server’s performance and internet speed.

Step 4: Initial Configuration
After installing Plesk Panel, open a web browser and navigate to your server’s IP address or domain name to access the Plesk interface. The system will prompt you to create an administrator account. Enter the necessary details, and you will be able to log in to the Plesk Panel. This initial login will give you access to all the tools and features that Plesk offers for managing your server and websites.
Step 5: Adding a Domain and Creating a Hosting Account
Once logged into Plesk, your first task will likely be to add a domain and set up a hosting account. Follow these steps to do so:
- Navigate to the “Domains” tab and click on “Add Domain.”
- Enter the domain name you want to add and configure the necessary settings, such as DNS configuration, hosting type, and server resources allocation.
- Go to the “Websites & Domains” section and create a new hosting account for the added domain. Customize the hosting settings based on your needs.
- Review the settings and finalize the creation of the hosting account. Your domain is now ready to host websites or applications.
Step 6: Creating Email Accounts
Plesk Panel allows you to manage email accounts for your domain easily. To create an email account, follow these steps:
- Go to the “Mail” tab in Plesk and click on “Create Email Address.”
- Fill in the required details, such as the email address, password, and mailbox size. Once done, click to create the account.
Step 7: Additional Configurations
Plesk Panel offers a range of additional configuration options to enhance your server and website management. These include setting up databases, configuring security settings like firewalls and SSL certificates, and automating backups. Explore these options to tailor your Plesk environment to meet your specific needs. Properly configured, these settings can significantly improve your server’s performance and security.
Conclusion
This guide has provided a detailed overview of the installation and initial configuration of Plesk Panel. With Plesk installed and configured, you are now equipped to manage your web hosting services efficiently. Plesk’s robust features will help you maintain control over your server, ensuring smooth and reliable website operations.


